WireGuard是一款开源的VPN协议软件,基于Linux的内核实现,利用Curve25519进行密钥交换,ChaCha20用于加密,Poly1305用于数据认证,BLAKE2用于散列函数运算,支持IPv4和IPv6的第3层。其配置简单并且比较安全再业界还是比较有名的,相比较OpenVPN和IPsec的配置,WireGuard绝对优于它们N个数量级,并且,你只需要配置通过一次,就基本知道WireGuard的调试方式,和其他VPN协议一样,WireGuard也获得了不同平台的支持。
📝 WireGuard的安裝部署測試
基礎環境
Ubuntu 系统(Client) &mac 系统(Client)& Openwrt(Client软路由)
安装基础软件
Linux平台(Server端)sudo apt update
sudo apt install wireguard-toolsMac系统 (Client端)Mac系统,需要Mac软件商城中下载(如下图),需要一个美区账号
下载链接(<https://apps.apple.com/us/app/wireguard/id1451685025?mt=12)>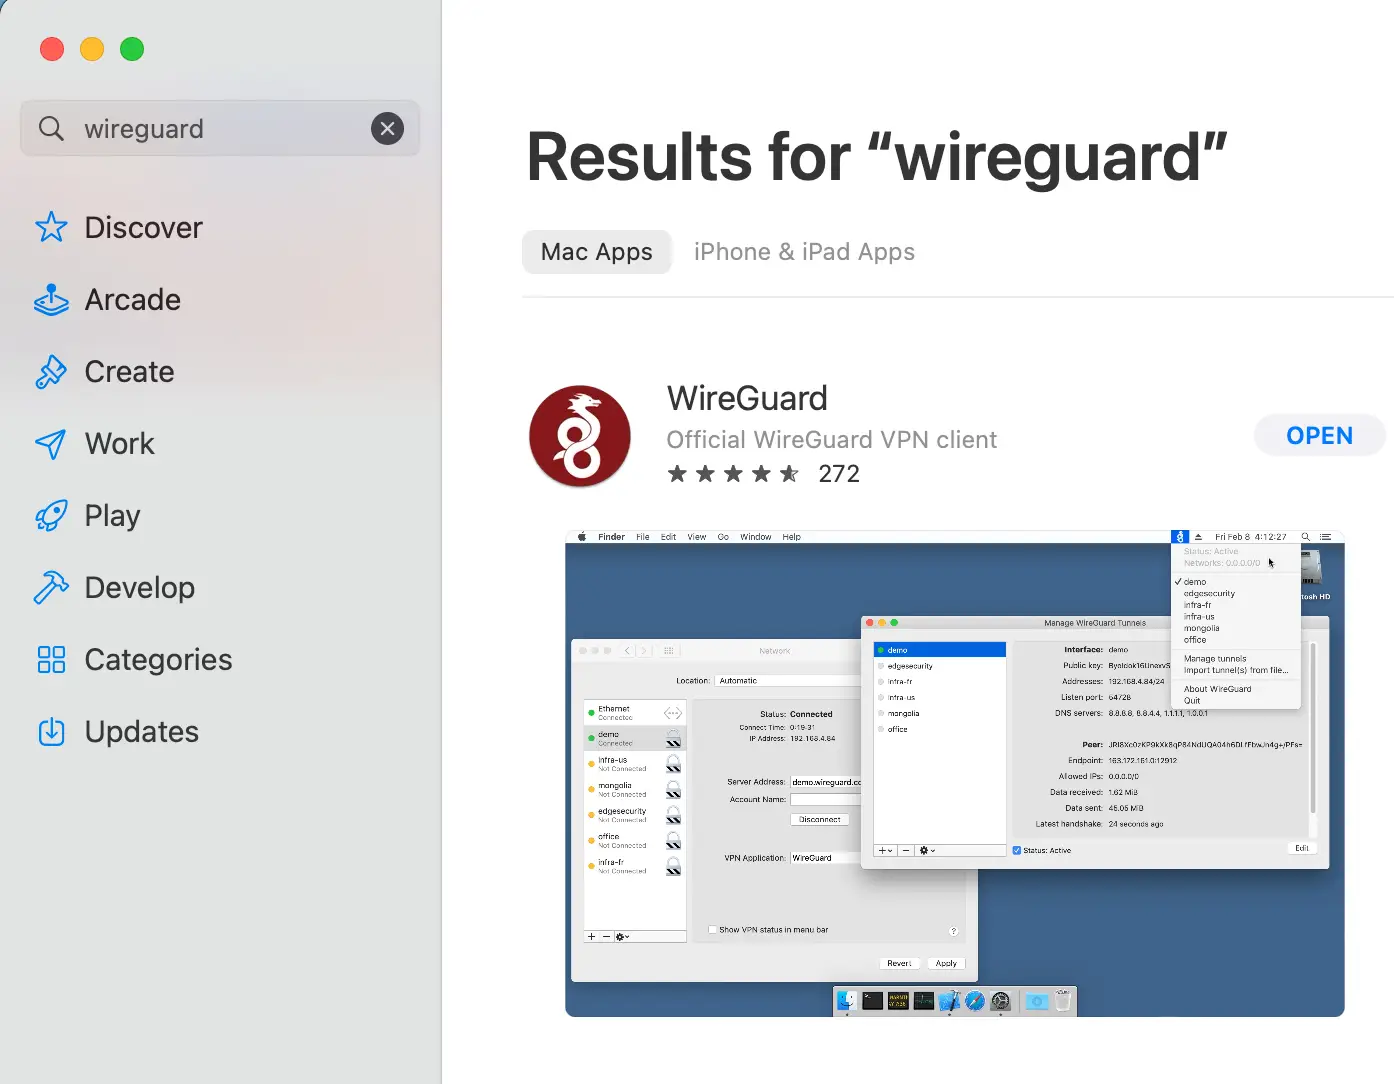
注意⚠️:安装该软件包,常用的命令是
wg,wg-quick命令,而 **wg**命令会有一些子命令。
生成privateKey/PublicKey对
使用wg命令生成密鑰對,命令如下.(
privateKey/PublicKey,只要有wg命令即可,不需要注意在Ubuntu或者Mac或者Openwrt平台)
1. 服務端密鑰生成命令:
wg genkey | tee privatekey | wg pubkey > publickey && cat privatekey && cat publickey

aGNR226kQ6ZvrCWvQSQM4OvbleHFaqE+TqDWPvlJNmY=
NVkY/I9sdgecmGonzwuythV+lef9b8z5RmG3G72Ys04=
2. 客戶端生成密鑰命令:
wg genkey | tee privatekey | wg pubkey > publickey && cat privatekey && cat publickey

2PFXXGUmy2oNFTvp7UtoCqxgAVCd82j0tNwdD0s1lGQ=
6srCFfbQvk97wSoP1/oT/UlLCwxtpG6rutVou6d9njc=
注意⚠️:上面一行是
privateKey,下面一行是PublicKey
Ubuntu服務器端的配置
如果客戶端還想上網,那麼就需要開啟Ip4的轉發了,Linux中開啟轉發的配置,需要在文件cat /etc/sysctl.conf中添加:
net.ipv4.conf.all.forwarding = 1
net.ipv4.conf.default.forwarding = 1
net.ipv4.conf.all.rp_filter = 0
net.ipv4.conf.default.rp_filter = 0
net.ipv4.ip_forward = 1
立即生效,需要執行命令:
sudo sysctl -p
wireguard的配置文件目錄是/etc/wireguard/, 文件名字格式一般是xx.conf,內容使用INI的文件格式
下面寫了一個配置文件,文件名稱為/etc/wireguard/wg0.conf
[Interface]
ListenPort = 51821
PrivateKey = aGNR226kQ6ZvrCWvQSQM4OvbleHFaqE+TqDWPvlJNmY=
Address = 10.0.0.1/30
MTU = 1380
Table = 101
#客戶端配置
[Peer]
PublicKey = 6srCFfbQvk97wSoP1/oT/UlLCwxtpG6rutVou6d9njc=
#如果是服務器端,這裡的Endpoint可以不用設置
#Endpoint = *IP*:51821
AllowedIPs = 0.0.0.0/0
PersistentKeepalive = 10
上述配置文件完成以後,就代表了
wg-quick命令啟動的時候,wireguard在系統內會啟動一個虛擬網卡名為wg0。如果你想設置為別的名字,可以修改該配置文件名稱。⚠️請確認上述配置的
ListenPort的端口,已經在防火牆中放行!!!啟動
wireguard:
sudo wg-quick up wg0關閉
wireguard:
sudo wg-quick down wg0查看是否已經啟動
sudo wg查看配置
sudo wg showconf查看
wg支持的所有的命令:
sudo wg helpUsage: wg <cmd> [<args>] Available subcommands: show: Shows the current configuration and device information showconf: Shows the current configuration of a given WireGuard interface, for use with `setconf' set: Change the current configuration, add peers, remove peers, or change peers setconf: Applies a configuration file to a WireGuard interface addconf: Appends a configuration file to a WireGuard interface syncconf: Synchronizes a configuration file to a WireGuard interface genkey: Generates a new private key and writes it to stdout genpsk: Generates a new preshared key and writes it to stdout pubkey: Reads a private key from stdin and writes a public key to stdout You may pass `--help' to any of these subcommands to view usage.
MacOS 配置wireGuard配置
直接打卡MacOS安裝好的WireGuard客戶端,新建一個新的Tunnel,編輯,配置如下:
[Interface]
PrivateKey = 2PFXXGUmy2oNFTvp7UtoCqxgAVCd82j0tNwdD0s1lGQ=
ListenPort = 51820
Address = 10.1.1.1/24
DNS = 8.8.8.8, 114.114.114.114, 233.5.5.5
MTU = 1380

[Peer]
PublicKey = NVkY/I9sdgecmGonzwuythV+lef9b8z5RmG3G72Ys04=
AllowedIPs = 0.0.0.0/0
# 這裡,就必須配置Endpoint了、不然客戶端找不到服務器
Endpoint = 服務器端IP:51821
PersistentKeepalive = 10
點擊連結就會看到WireGuard與服務器端的握手信息了。
相比較OpenWrt,macOS的WireGuard的配置就很簡單了
OpenWrt 配置wireGuard上網
持續更新中..
🤗 總結
wireguard想比較別的VPN的配置,簡單了很多,在組網的過程中,真的是一個很推薦的選擇,在客戶端的選擇上,WireGuard的支持也比較豐富,就是在大陸境內的wireGuard的客戶端選擇上,並不怎麼豐富,此WireGuard的管理界面在iKuai等一些特殊的版本才會有。不管怎麼樣,如果喜歡折騰命令行的話,wireGuard大概是一個不錯的選擇
📎 参考文章
WireGuard官网
💡 有关WireGuard安装或者使用上的问题,欢迎您在底部评论区留言,一起交流~