
Introduction
PHP is a popular server scripting language known for creating dynamic and interactive web pages. Getting up and running with your language of choice is the first step in learning to program.
This tutorial will guide you through installing PHP 7.4 on Ubuntu and setting up a local programming environment via the command line. You will also install a dependency manager, Composer, and test your installation by running a script.
You will want to avoid relying on the default version of PHP because that default version could change depending on where you are running your code. You may also wish to install a different version to match an application you are using or to upgrade to a newer version, such as PHP 8.
Setting up PHP7.4
Run the following command to update apt-get itself, which ensures that you have access to the latest versions of anything you want to install:
sudo apt update Next , install the software-properties-common ,which adds management for additional software sources:
sudo apt -y install software-properties-commonNext, install the repository ppa:ondrej/php, which will give you all your versions of PHP:
about the ppa:ondrej/php , you can visit the link https://launchpad.net/~ondrej/+archive/ubuntu/php/
sudo add-apt-repository ppa:ondrej/phpFinally, you update apt-get again so your package manager can see the newly listed packages:
sudo apt update Then ,You can install the php7.4 and its extensions.
sudo apt install php7.4-cli
sudo apt install php7.4-fpm
extensions:

Then ,check the php’s version.
php7.4 -voutput :
ubuntu@channel:~$ php -v
PHP 7.4.3-4ubuntu2.29 (cli) (built: Mar 25 2025 18:57:03) ( NTS )
Copyright (c) The PHP Group
Zend Engine v3.4.0, Copyright (c) Zend Technologies
    with Zend OPcache v7.4.3-4ubuntu2.29, Copyright (c), by Zend Technologies
You can also install more than one package at one time.Here are a few suggestions of the most common modules you will most likely want to install .example :
sudo apt install php7.4-zipor
sudo apt install php7.4-mbstringif you want to install swoole ,try to install php7.4-dev ,get the pecl tool:
sudo pecl install swoole or describe a swoole version .
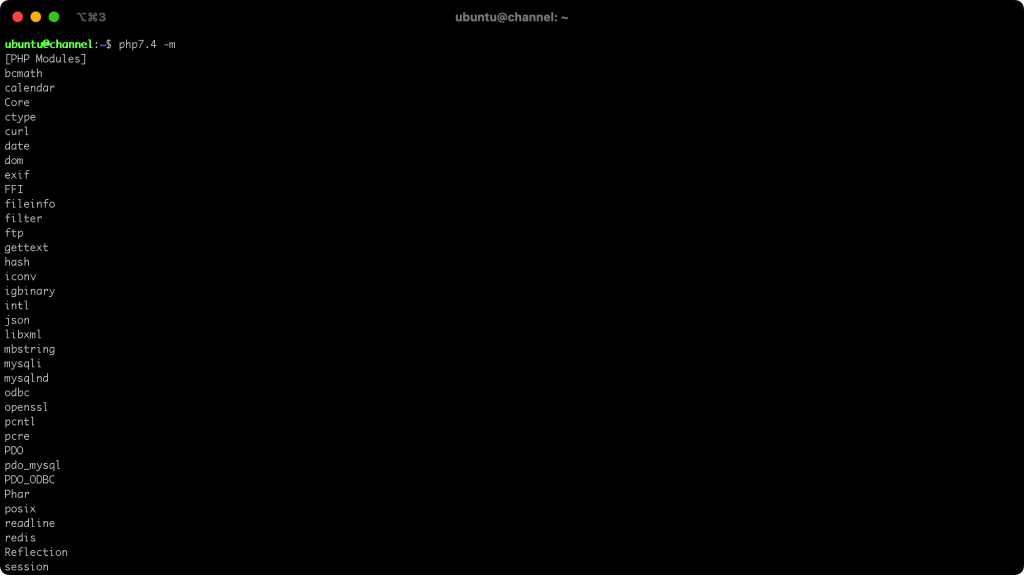
sudo pecl install https://pecl.php.net/get/swoole-4.8.12.tgzThen you can list all php modules you have installed with command line :
sudo php7.4 -m You will receive something similar to following:
Manage package using composer.
Composer is a tool for dependency management in PHP. It allows you to declare the libraries your project depends on and will manage installing and updating these packages.
Although similar, Composer is not a package manager in the same sense as yum or apt. It deals with “packages” or libraries, but it manages them on a per-project basis, installing them in a directory (e.g. vendor) inside your project. By default, it does not install anything globally. Thus, it is a dependency manager. It does, however, support a global project for convenience via the global command.
This idea is not new, and Composer is strongly inspired by Node’s npm and Ruby’s bundler.
Suppose:
- You have a project that depends on several libraries.
- Some of those libraries depend on other libraries.
Composer:
- Enables you to declare the libraries you depend on.
- Finds out which versions of which packages can and need to be installed and installs them by downloading them into your project.
- Enables you to update all your dependencies in one command.
- Enables you to see the Basic Usage chapter for more details on declaring dependencies.
There are, in short, two ways to install Composer: locally as part of your project or globally as a system-wide executable. Either way, you will start with the local install.
To quickly install Composer in the current directory, run this script in your terminal:
php7.4 -r "copy('https://getcomposer.org/installer', 'composer-setup.php');"
php7.4 -r "if (hash_file('sha384', 'composer-setup.php') === 'dac665fdc30fdd8ec78b38b9800061b4150413ff2e3b6f88543c636f7cd84f6db9189d43a81e5503cda447da73c7e5b6') { echo 'Installer verified'.PHP_EOL; } else { echo 'Installer corrupt'.PHP_EOL; unlink('composer-setup.php'); exit(1); }"
php7.4 composer-setup.php
php7.4 -r "unlink('composer-setup.php');"
Most likely, you want to put the composer.phar into a directory on your PATH, so you can simply call composer from any directory (Global install), using for example:
sudo mv composer.phar /usr/local/bin/composerNow to run Composer , use composer instead of php composer.phar . To check for your Composer Version :
composer -Vor
composer --versionTest PHP7.4 environment.
To test that your system is configured correctly for PHP, you can create and run a basic PHP script. Call this script p.php:
vim p.phpThis will open a new blank file.
Press the i key , then put the following text , which is valid PHP code,inside the file :
<?php
echo 'Hello World!';
?>
Once you’ve added the text, save and close the file. You can do this by pressing the ESC key and pressing the : key. Then input the wq .
Now you can test to make sure that PHP processes your script correctly. Type php to tell PHP to process the file, followed by the name of the file:
php7.4 p.phpIf the PHP is processed properly , you will see only the characters with the quotes:
Hello World!PHP has successfully processed the script, meaning that your PHP environment is successfully installed and you’re ready to continue your programming journey.